
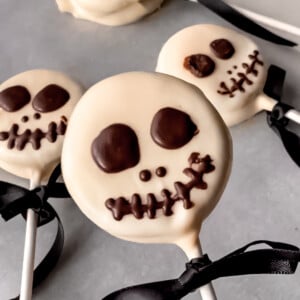
Some of my most popular content isn't a recipe at all, it's just me solving a problem you didn't know you had. These skeleton Oreos are proof. They went viral, and for good reason: they're dead simple (pun intended), they look genuinely impressive, and every single thing that could go wrong with a candy-melt project, I've already gone wrong for you.
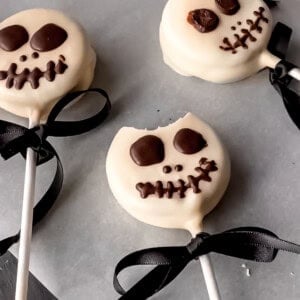
This isn't a bake, it's a dip-and-decorate project, and if you've ever tried this kind of thing and ended up with waxy, streaky, disappointing coating, I'm about to save you a lot of frustration.
Looking for other Oreo treats? Try oreo fluff or oreo puppy chow!
What you need
- Oreos — standard Oreos work, but if you want a slightly sturdier, more substantial bite, double stuf or mega stuffed will hold up even better under the coating.
- White confectionery coating — this is the actual dip, and the brand matters more than you'd think. Skip Wilton candy melts entirely, they're waxy, they don't melt smoothly, and you will end up fighting your coating instead of dipping cookies. Make n' Melt (found at Hobby Lobby) and Ghirardelli (available at most grocery stores) both melt clean and give you that smooth, dippable consistency.
- Dark chocolate, melted — this is for the piped-on eyes, nose, and mouth. Not food markers, actual melted chocolate.
- Long lollipop sticks — I used the Wilton brand lollipop sticks from Amazon, they're sturdy enough to hold the weight of a dipped Oreo without bending.
- Piping bag or a small squeeze bottle — for getting clean, controlled lines with the chocolate detailing.
Directions
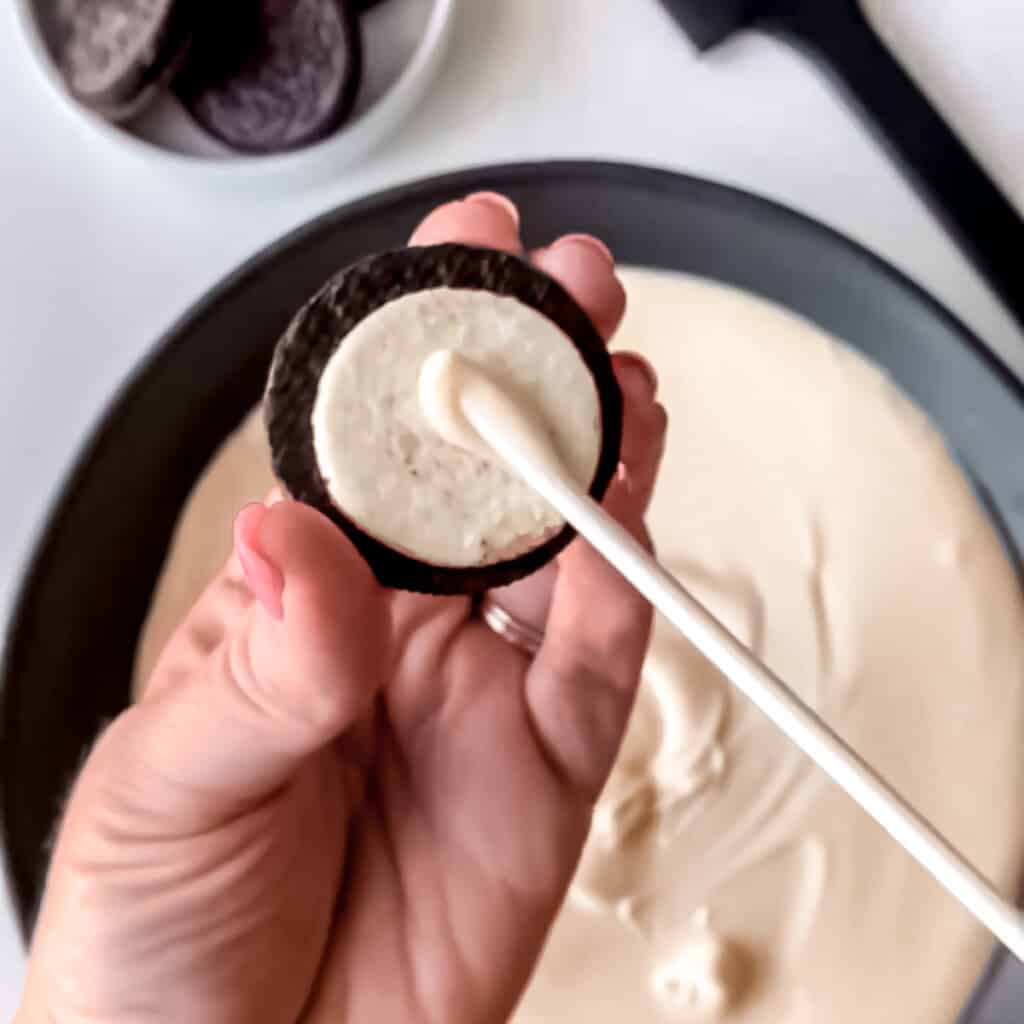
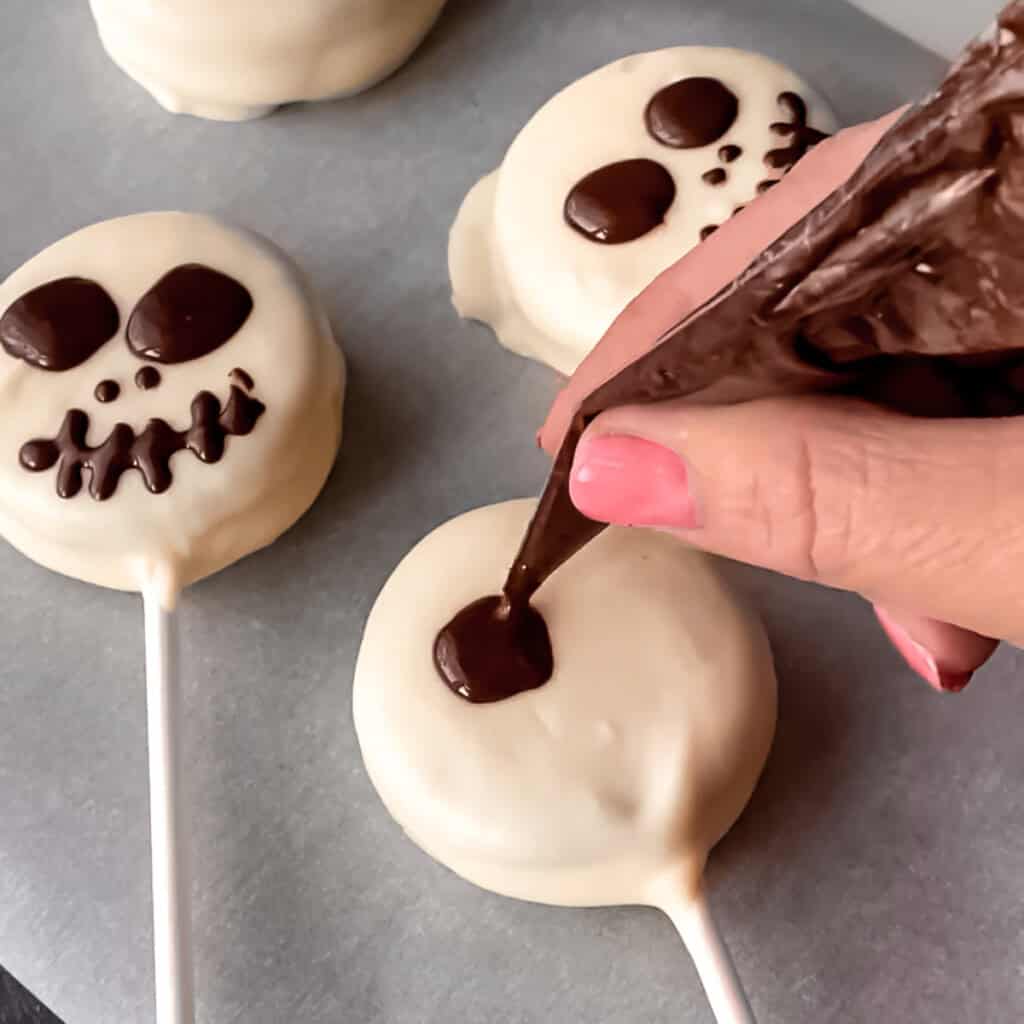
- Insert a lollipop stick into the cream center of each Oreo, pushing it in just enough to hold steady without splitting the cookie.
- Melt your white confectionery coating according to the package, working with either Make n' Melt or Ghirardelli for the smoothest results.
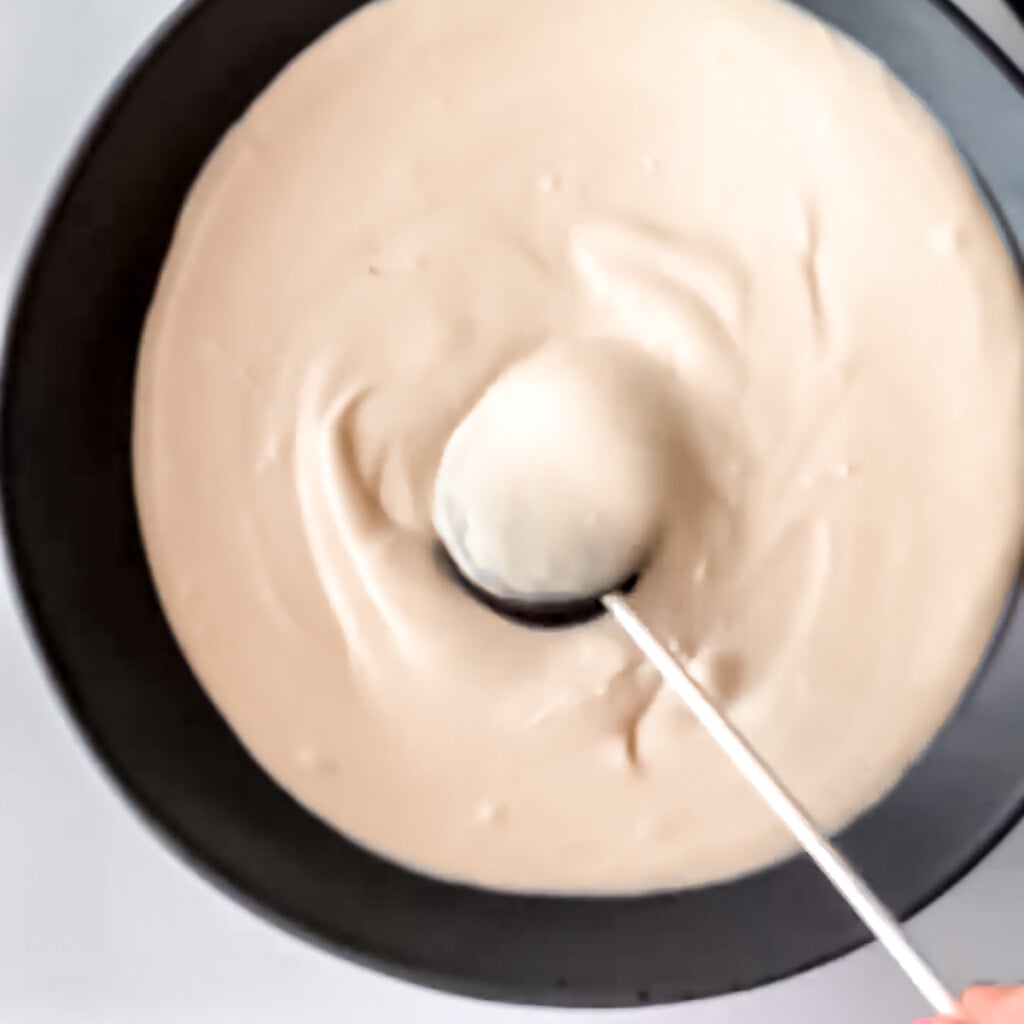
- Dip each Oreo fully into the melted coating, making sure it's evenly covered. Let any excess drip off before setting it down.
- Let the coating set completely before decorating. This matters, if it's even slightly soft, your piping will smear.
- Melt your dark chocolate and transfer it to a piping bag or squeeze bottle.
- Pipe on the skeleton face, two eyes, a small nose, and a mouth. Let your piping set before serving or displaying.
Baker’s Notes (aka what’s actually happening)
- Skip food markers entirely, no matter what the packaging promises, they don't write cleanly on confectionery coating. Melted chocolate piped on gives you sharper lines and looks far more finished.
- Candy melts (specifically the Wilton brand) are the most common culprit when this kind of project goes wrong. If your coating seizes, looks streaky, or won't thin out, it's very likely the brand, not your technique.
- Double stuf or mega stuffed Oreos give you a slightly thicker, more substantial base if you want these to feel a little more indulgent.
- These hold up well at room temperature, no need to refrigerate, which makes them easy for parties or treat tables.

Did you make this recipe? Let me know!