Looking for equipment that helps with candy making at home? This is the page for you!

When I first started as a confectionery scientist, I expected to see a ton of fancy, unique equipment in the product development lab. I was shocked when I walked in and most of the equipment I saw were items already in my kitchen! The list below includes items I use in almost all of my candy making, along with why I've chosen it to be on this list. This list is will be updated as I get requests for specific equipment recommendations.
1. Scientific long stem digital thermometer

One of the most common problems people come to me with is "my caramels didn't set up!" The first thing we talk about is their thermometer. I've tested many clip on thermometers and candy thermometers you purchase at your local store. None of them have ever given me an accurate reading.
When choosing a thermometer for candy making at home, decide what you'll be making. If you want to make hard candy, toffee, brittles, honeycomb, or lollipops you need a thermometer that reads up to AT LEAST 310F.
If you are only going to be making caramels, marshmallows, nougat, tempering chocolate, or pralines, a thermometer that reads up to 302F will be fine.
Both thermometers should have a long stem so you do not burn yourself when taking the temperature. A digital read out makes it extremely easy to see the temperature.
Thermometers for over 300F - able to use for ALL candy
Thermometers for under 302F - only good for caramels, marshmallows, nougat, praline, tempering chocolate
2. Cookers
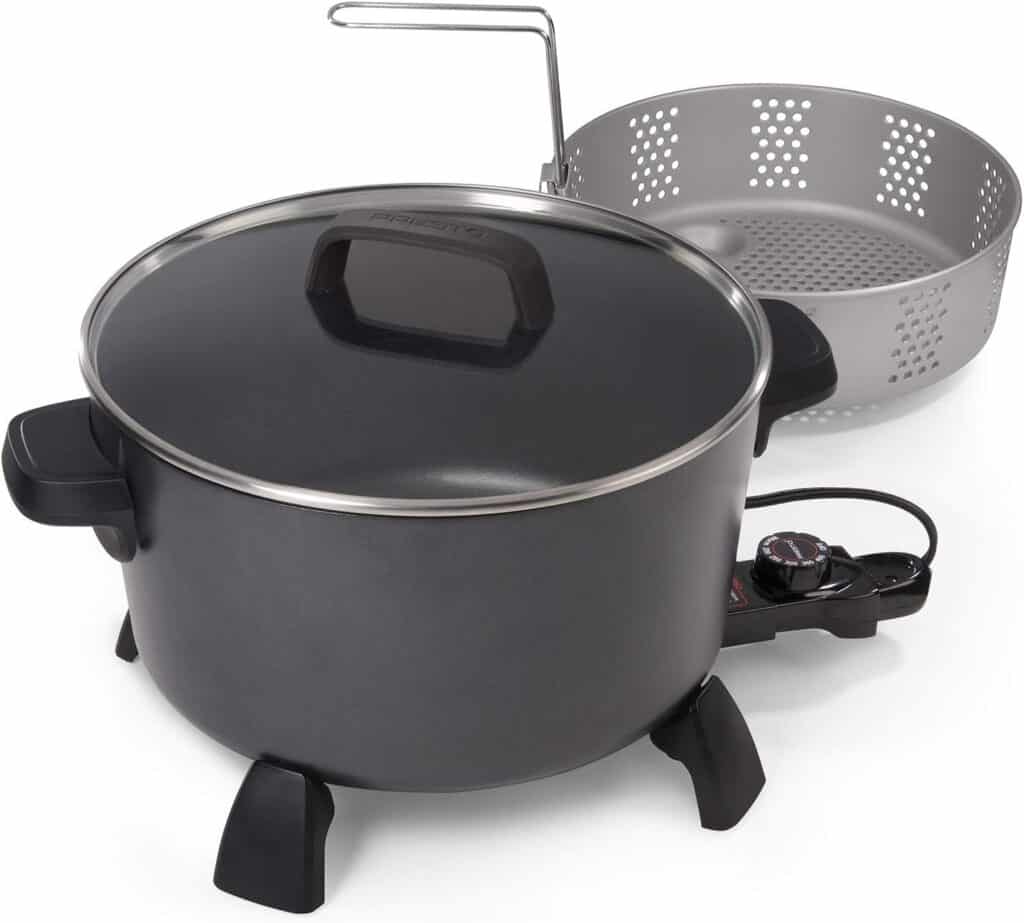
This is the backbone of my candy making. It is incredibly easy to use and easy to clean. It has its own heating element so you are not tied to the stove and can cook wherever you like. The kettle is big so the caramel batches (at least from my recipes) won't boil over. You can use it for many different things (it's technically a deep fryer!) but I use mine exclusively for candy making. This is good for all of your sugar work - caramels, toffee, brittle, hard candy, marshmallows, nut crunch, etc.
3. High heat spatulas
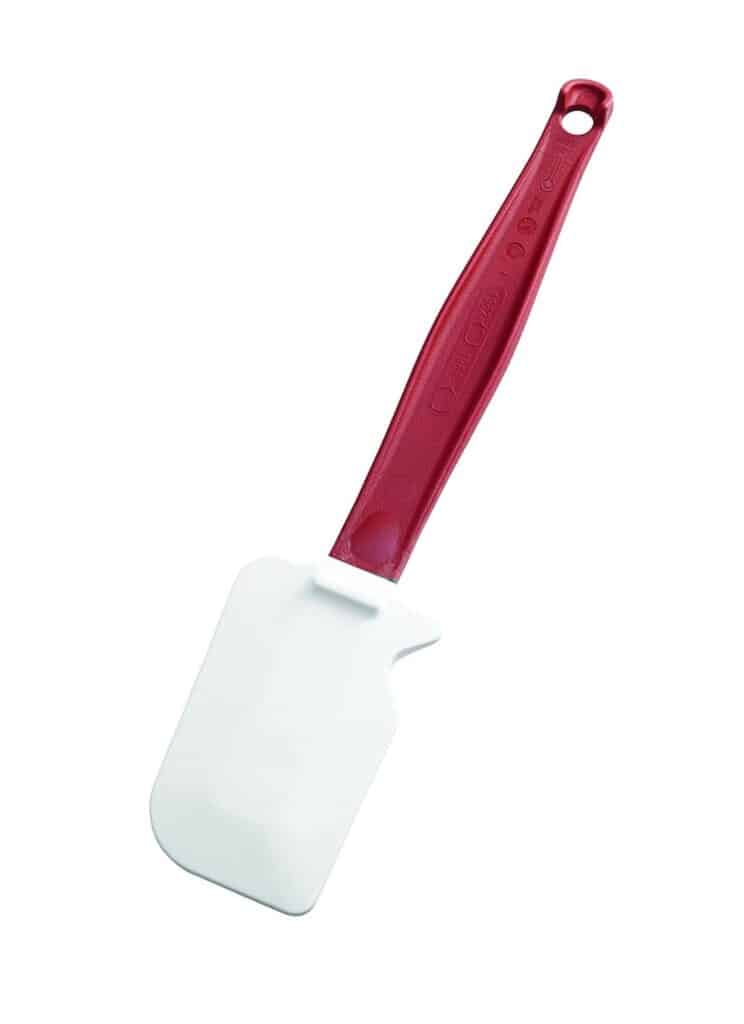
Making candy means you'll be cooking to high temperatures. You need a spatula that is rated for those temperatures so the plastic doesn't melt over time. These high heat spatulas also come with a long hands so you won't burn yourself while stirring.
4. Planetary mixer
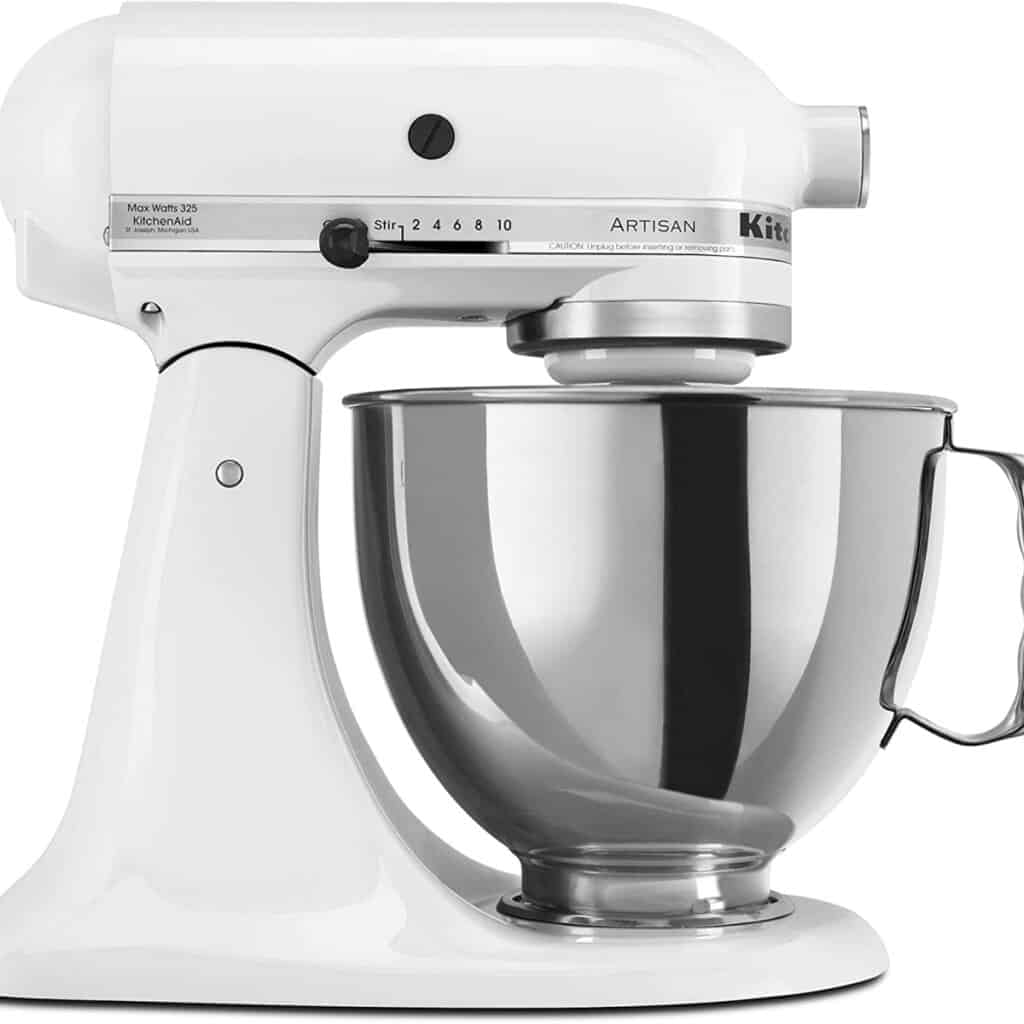
I use both a 5 quart planetary kitchen aide as well as a professional kitchen aide. Both will work for items requiring aeration like homemade marshmallows and homemade nougat. If you need your mixer to be NSF certified for your business, you'll need to go with the commercial mixer.
I use my mixer for making marshmallows, nougat, peanut butter centers, and confectioners fondant.
- 5 quart Kitchen Aid (Walmart)
- 5 quart Kitchen Aid (Amazon)
- Kitchen Aide Commercial with 1 HP Motor (Amazon) This mixer is NSF certified.
- Kitchen Aide Commercial with 1 HP Motor (Walmart). This mixer is NSF certified.
5. Long pizza cutter

This is a life saver when it comes to cutting! I use an 18" long pizza cutter because the longest part of my pans are 17". This allows me to get across the pan in one cut.
6. 18 inch ruler

I always measure my confections before cutting to get even sized pieces. It's important to use a completely metal ruler so it can be properly cleaned after using. Do not use a ruler with a cork or rubber back.
7. Chocolate dipping fork

I exclusively use a 3 pronged chocolate dipping fork. It makes dipping go quickly and it's a stable base to hold my center on.
8. Scraper
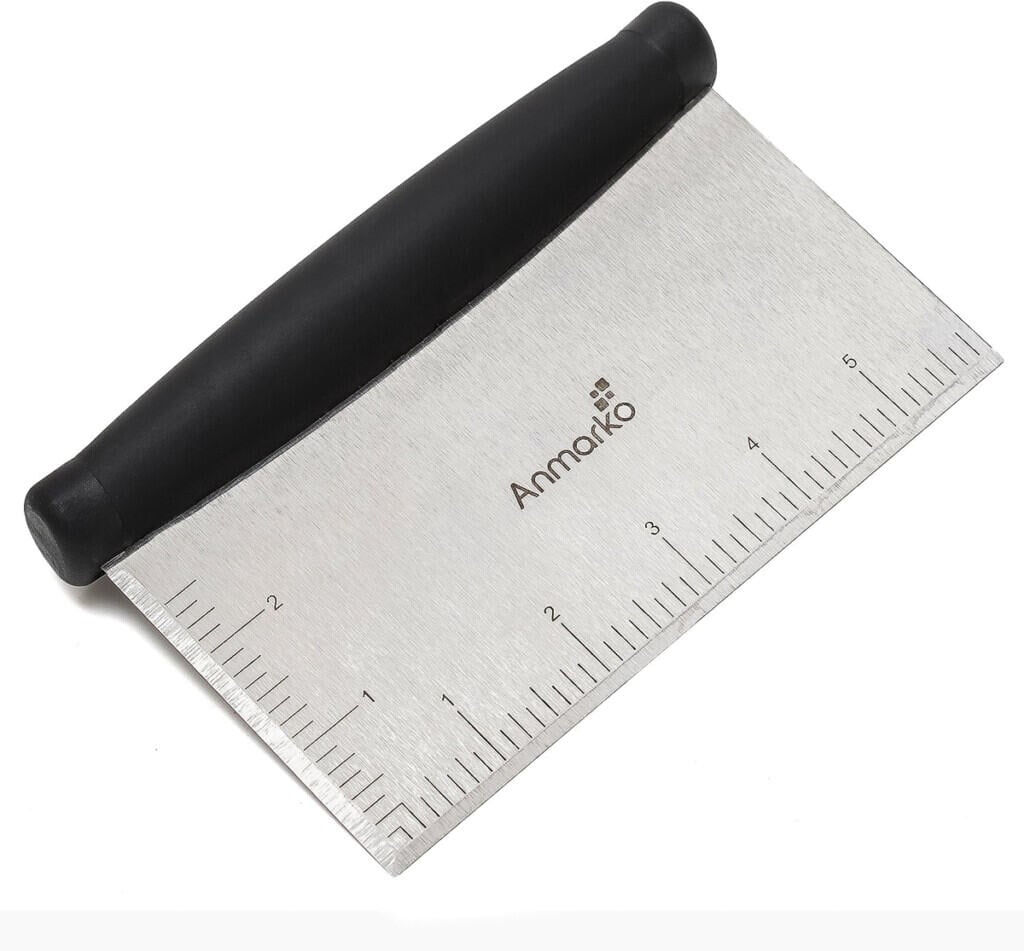
Scrapers are great for smoothing out marshmallow and nougat layers in candy bars. Tip: I actually got mine at the local Dollar Tree!
9. Sheet pans

I use sheet pans mainly for batches of caramels and layered candy bars. In the candy industry, you would use metal frames. Metal frames are VERY expensive and I've found the sheet pans to work quite well. I prefer to not go larger an 12 x 17 in my batches and use 9 x 13 a lot as well. Occasionally I'll make small batches of items that use a 8 x 6 sheet pan.
- 9 x 13 sheet pan (Amazon)
- 9 x 13 sheet pan (Walmart)
- 12 x 17 sheet pan (Amazon)
- 12 x 17 sheet pan (Walmart)
- 8 x 6 sheet pan (Amazon)
- 8 x 6 sheet pan (Walmart)
10. Glass bowls
Some nice glass bowls are ideal for chocolate dipping because you can heat the in the microwave, hand temper, and dip chocolate.
- Glass bowl (Amazon) 4 quart size
- Glass bowl (Walmart) 4 quart size
11. Chocolate tempering machines

When tempering chocolate at home, I do it by hand. If you don't want to hand temper, they do make some machines for home use. Please make sure to read about these different machines and the capacity they are able to temper (usually it's not very much!!)
- ACMC Tempering Machine. This is my top choice for an at home tempering machine and the same machine we would use in our product development lab. It's easy to use, relatively quiet, and produces really nicely tempered chocolate.
- Chocovision Tempering Machine. While this does temper chocolate, it's such a small amount that I'd stick with hand tempering. Where this would come in handy is if you were doing designs or drizzling in contrast colors and needed to use both chocolates while they were still wet and didn't have anyone helping out.
12. Chocolate bar molds
- Tablet style bars with wrappers I love this bar mold. It looks high end, is a larger bar, and comes with wrappers so you can bag your chocolate bars.
13. Candy Wrappers
- Foil Wrappers - great for chocolates. Don't wrap caramels or hard candy directly in these.
- Cello Wrap- my go to for caramels and nougat. Make sure you get the 5" x 5" size - others will be too big or too small and you'll be struggling to get the twisted ends done correctly.

Did you make this recipe? Let me know!