My cinnamon pull apart bread takes canned biscuits and turns them into layers of gooey, golden perfection, all drizzled in maple glaze. It’s the kind of cozy, sticky, tear-and-share magic that disappears faster than you can say “save me the end piece.”
There are “fall recipes,” and then there’s this — the one that makes your whole kitchen smell like brown sugar, pumpkin spice, and bad decisions you don’t regret.
Looking for other fall recipes? Try these pumpkin spice marshmallows or scalloped sweet potatoes! or apple cinnamon marshmallows!
Ingredients
This pumpkin cinnamon pull apart bread is one of those recipes that feels like Christmas morning — warm, buttery, and just chaotic enough to be perfect. It’s soft in the middle, crisp on the edges, and sticky in all the right ways — the kind of thing that makes people think you’ve been baking since sunrise when really, you just opened a can of biscuits. Whether it’s a Thanksgiving brunch or a cozy weekend breakfast in December, this loaf brings that instant “everyone come to the kitchen” energy with every pull-apart layer.

- brown sugar – Adds that deep, molasses-y warmth that gives pull-apart bread its sticky, toffee-like edges.
- pumpkin pie spice – Shortcut to instant fall energy; cinnamon, nutmeg, and clove are the holy trinity here.
- refrigerated biscuit dough – Our secret weapon for bakery-style layers without any kneading.
- salted butter, melted – Salted is key; it keeps the sweetness balanced and adds richness to every layer.
- canned pumpkin pie filling – Not purée — the sweet, spiced kind. It’s the flavor backbone of the loaf.
- powdered sugar – For the glaze; the smooth sweetness that ties everything together.
- whole milk – Thins the glaze just enough to pour beautifully.
- maple syrup – Adds depth and a hint of luxury (because you’re worth it).
- pure vanilla extract – Finishes the glaze with that cozy, round flavor everyone loves.
See recipe card for quantities.
Instructions
You don’t need a mixer, a dough hook, or even patience for this one — just a loaf pan, a whisk, and a little festive chaos. Once the biscuits are layered up and the pumpkin spice starts doing its thing in the oven, your house will smell like the inside of a holiday candle (but better, because you can eat it). Ready? Let’s bake cinnamon pull apart bread.

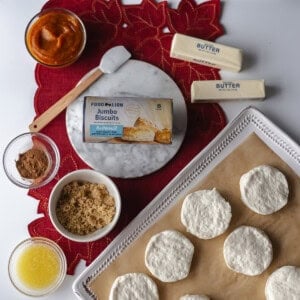
Overhead photo of biscuit dough rounds, melted butter, brown sugar, and pumpkin pie filling arranged on a baking tray.
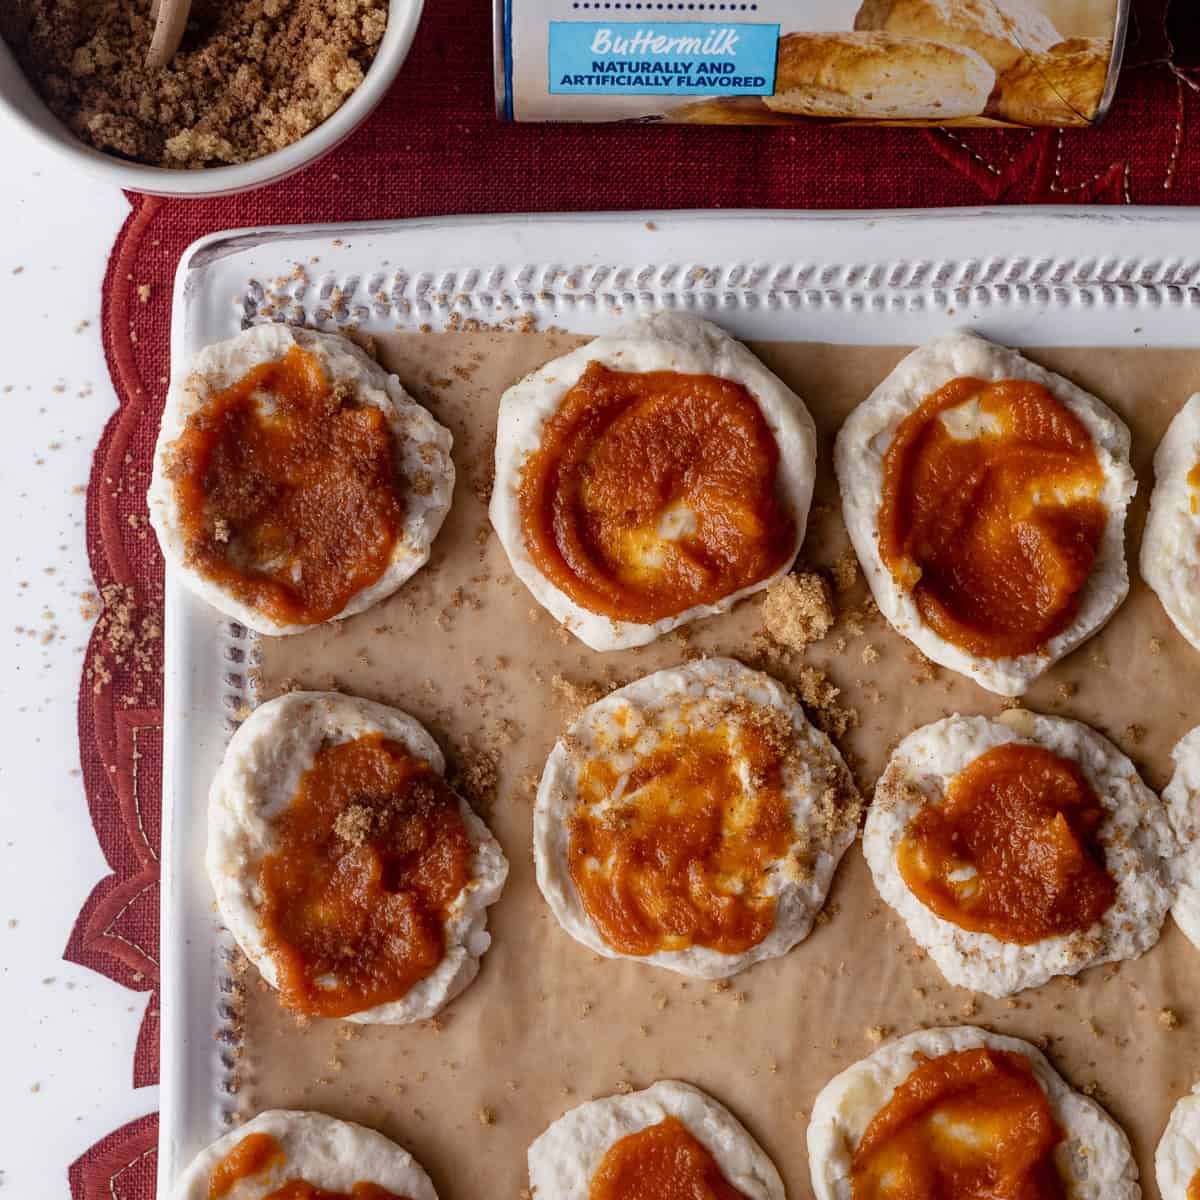
Biscuit rounds spread with pumpkin filling and sprinkled with brown sugar, ready to bake into pumpkin pull apart bread.
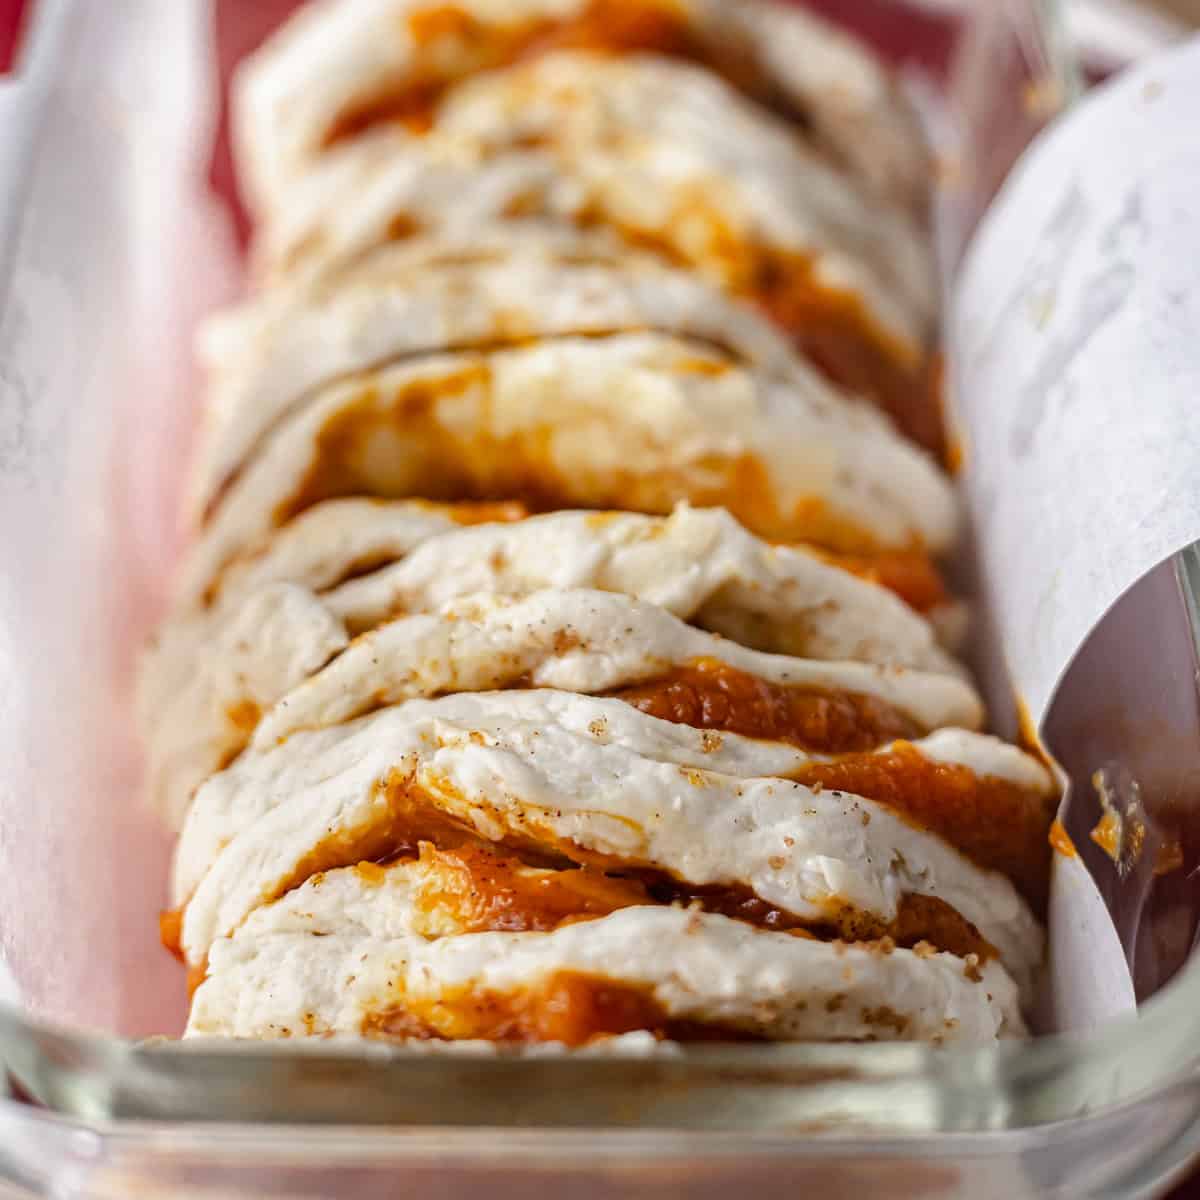
Stacked biscuit dough rounds filled with pumpkin pie filling and brown sugar, arranged vertically in a loaf pan.

Pumpkin cinnamon pull apart bread in a parchment-lined loaf pan before baking, showing buttery layers and spiced filling.
- Preheat your oven to 350°F and grease a 9×5-inch loaf pan with nonstick spray.
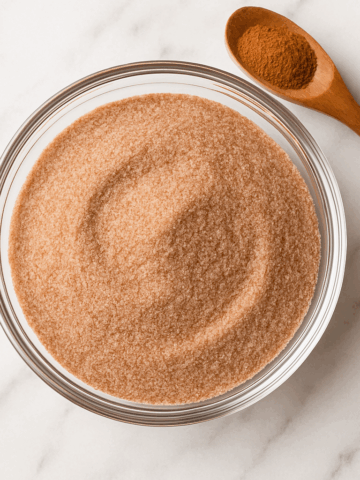
- Mix the brown sugar and pumpkin pie spice in a small bowl.
- Separate the biscuits into two layers — you’ll have 16 rounds total.
- Brush one side of each round with melted butter.
- Spread about 1 tablespoon of pumpkin pie filling over the buttered side, then sprinkle with the sugar-spice mixture.
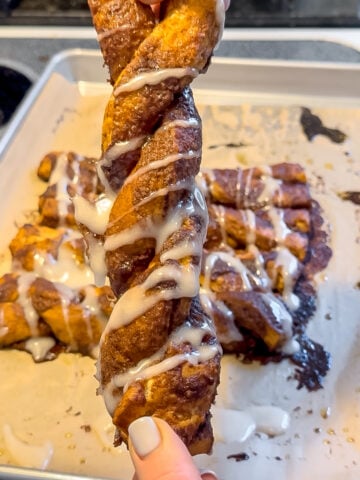
- Stack and layer the biscuits vertically in your prepared pan, like a buttery deck of cards.
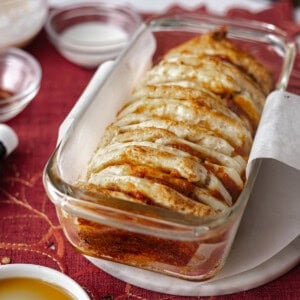
- Bake for 40–45 minutes, until golden-brown and your kitchen smells like autumn’s grand finale.
- Cool 10 minutes, then invert onto a rack. (Yes, some goo will drip — that’s the best part.)
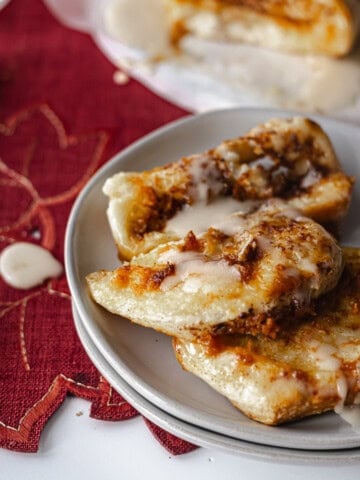
Whisk together the powdered sugar, milk, maple syrup, and vanilla. Drizzle over the warm loaf and serve immediately.
Hint: Texture check: Expect crisp edges, tender layers, and a gooey center. If you like it less sticky, bake 3–5 minutes longer.
Substitutions for cinnamon pull apart bread
If you’re baking for a crowd with different needs (or just raiding your pantry at 10 p.m.), here are a few easy swaps that actually work — no fake wellness talk here.
- Pumpkin Pie Filling: You can use plain pumpkin purée instead — just whisk in ¼ cup brown sugar and ½ teaspoon pumpkin pie spice to mimic the flavor.
- Gluten-Free: Swap the canned biscuits for your favorite gluten-free biscuit dough (store-bought or homemade). The texture will be a little softer but still delicious.
- Dairy-Free: Use plant-based butter and your go-to non-dairy milk for the glaze. Maple syrup keeps the flavor strong enough that no one will notice the swap.
- Sugar-Conscious: You can reduce the brown sugar by half without sacrificing much sweetness — the maple drizzle still carries the flavor beautifully.
Even if you’re not baking for a specific diet, these swaps are handy when you’re short on something or hosting friends with different preferences.
Variations
Once you’ve mastered the base loaf (and trust me, you will), try remixing it for different moods or guests. This recipe is endlessly adaptable — just like your holiday schedule.
- Pecan Pie Edition: Sprinkle chopped pecans and a drizzle of caramel sauce between layers before baking. It turns into a pull-apart version of pecan pie.
- Maple Cream Cheese Swirl: Spread a thin layer of sweetened cream cheese between the biscuits for a richer, bakery-style loaf.
- Apple Cider Vibes: Swap the pumpkin pie filling for chunky applesauce and add a pinch more spice for a caramel apple twist.
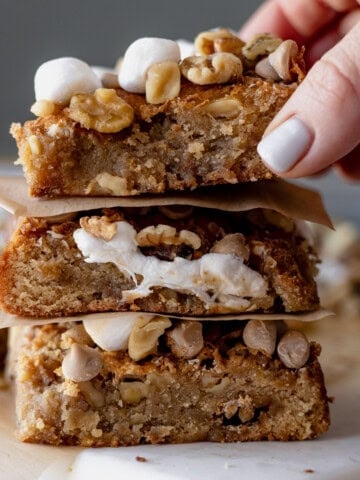
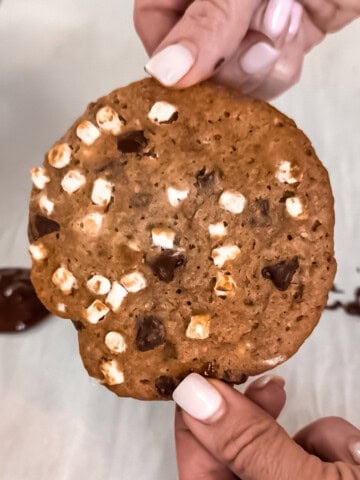
- Kid-Friendly Chaos: Fold in mini marshmallows or a few white chocolate chips for gooey fun that makes breakfast feel like dessert.
- Spiced-Up Adult Version: Add a teaspoon of bourbon or rum to the glaze — it’s subtle, cozy, and wildly festive.
The beauty of this bread is that it doesn’t take itself too seriously — just like the holidays should be.
Equipment
You don’t need fancy tools for this one — just the basics that make baking feel easy (and a little therapeutic).
- 9×5-inch loaf pan – The perfect size for stacking those buttery biscuit layers.
- Pastry brush – Helps you get that even, golden butter glaze between every biscuit. A spoon works in a pinch, but the brush makes you feel like you know what you’re doing.
- Mixing bowls – One for the sugar-spice mix and one for the glaze.
- Whisk – For the maple drizzle — it’s how you get that smooth, glossy finish.
- Cooling rack – Keeps the bottom from going soggy while the glaze sets just right.
That’s it. No stand mixer, no dough hook — just cozy kitchen energy and a loaf pan full of glory.
Storage
If by some miracle you have leftovers (bold of you to assume), here’s how to keep that pull-apart magic alive:
- Room Temperature: Store in an airtight container or wrap tightly in foil for up to 2 days. A quick 10-second microwave reheat brings the gooey texture right back.
- Refrigerator: Keeps up to 5 days, but the texture will firm up a little — warm slices before serving to soften them again.
- Freezer: Wrap the cooled loaf or individual slices tightly in plastic wrap and foil. Freeze for up to 2 months. Thaw overnight at room temp, then re-warm in the oven at 300°F for 10–15 minutes.
Pro tip: wrap individual slices in parchment before freezing — future-you will thank you for the grab-and-toast convenience.
Top tip - Make Ahead!
Hosting holiday brunch or trying to impress your in-laws without looking like you tried too hard? Assemble the loaf the night before — layer the biscuits, butter, and pumpkin filling in your pan, then cover and refrigerate overnight.
In the morning, let it sit at room temperature for 20–30 minutes while the oven preheats, then bake as directed. Your house will smell like instant Christmas morning hero energy — and you’ll barely have to lift a finger.
Related
Looking for other recipes like this? Try these:


Pairing
These are my favorite dishes to serve with [this recipe]:

Recipe

Pumpkin Maple Pull-Apart Bread (Canned Biscuit Hack)
Equipment
- 9×5-inch loaf pan
- whisk
- pastry brush
- Mixing bowls
- cooling rack
Ingredients
Spice Sugar
- ¼ cup brown sugar packed
- 1 teaspoon pumpkin pie spice
Bread
- 1 16.3 oz can refrigerated biscuit dough
- 2 tablespoon salted butter melted
- ¾ cup canned pumpkin pie filling
Maple Glaze
- ½ cup powdered sugar
- 2 teaspoon whole milk
- 1½ teaspoon maple syrup
- ½ teaspoon pure vanilla extract
Instructions
- Prep. Preheat oven to 350°F (175°C). Grease a 9×5-inch loaf pan with nonstick spray. In a small bowl, stir together brown sugar and pumpkin pie spice.
- Split biscuits. Separate each biscuit into 2 thinner layers to make 16 rounds total.
- Fill & sugar. Brush one side of each round with melted butter. Spread about 1 tablespoon pumpkin pie filling on top, then sprinkle generously with the sugar-spice mix.
- Stack & load. Stack the rounds and arrange them vertically in the prepared pan like a deck of cards.
- Bake. Bake 40–45 minutes, until deep golden-brown and the center is set. Cool in the pan 10 minutes, then invert onto a cooling rack.
- Glaze. Whisk powdered sugar, milk, maple syrup, and vanilla until smooth. Drizzle over the warm loaf. Slice/pull apart and serve.
Notes
- Gooey vs. set: For extra-gooey centers, pull at 40–42 minutes; for a cleaner slice, bake to 45 minutes.
- No pumpkin pie filling? Use ¾ cup pumpkin purée + ¼ cup brown sugar + ½ teaspoon pumpkin pie spice.
- Holiday make-ahead: Assemble in the pan, cover, and refrigerate overnight. Rest 20–30 minutes at room temp while the oven preheats; bake as directed.
- Storage: Airtight at room temp up to 2 days; fridge up to 5 days; freeze (well-wrapped) up to 2 months. Rewarm at 300°F for 10–15 minutes or microwave slices ~10 seconds.
Food safety
We sometimes take for a granted that we have years (or decades) of cooking Food Safety Tips
A few quick notes to keep your Pumpkin Maple Pull-Apart Bread as safe as it is delicious:
- Pumpkin pie filling: Once opened, refrigerate any leftover filling and use within 5–7 days.
- Storage containers: Always cool the loaf completely before sealing or wrapping — trapping steam can lead to sogginess (and unwanted bacteria growth).
- Reheating: Warm slices until they reach at least 165°F if stored in the fridge or freezer.
- Dairy swaps: If you’re using plant-based butter or milk, check labels for “refrigerate after opening” — many shelf-stable versions still require chilling once opened.
- Serving: Avoid leaving the bread out for more than 2 hours at room temperature, especially if glazed — sugar attracts moisture (and guests who double-dip).
It’s cozy, it’s sweet, and now it’s safe enough to share with literally everyone at the table.

Did you make this recipe? Let me know!